. Creating Assignments
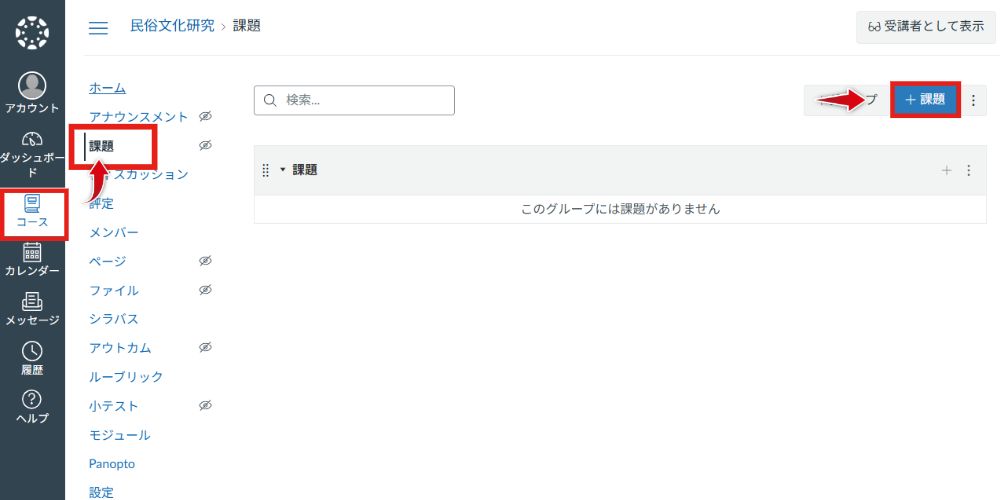
From the Dashboard or Global Navigation, click the course where you want to create an assignment, then click 'Assignments' in the displayed Course Navigation.
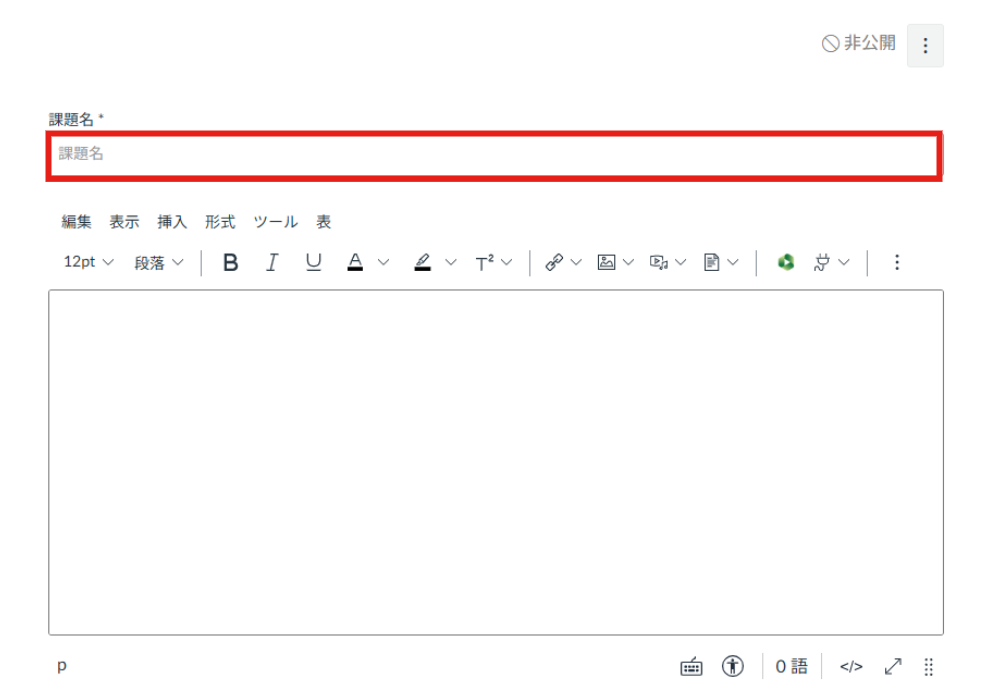
Enter the assignment title.
Enter the assignment description in the text area.
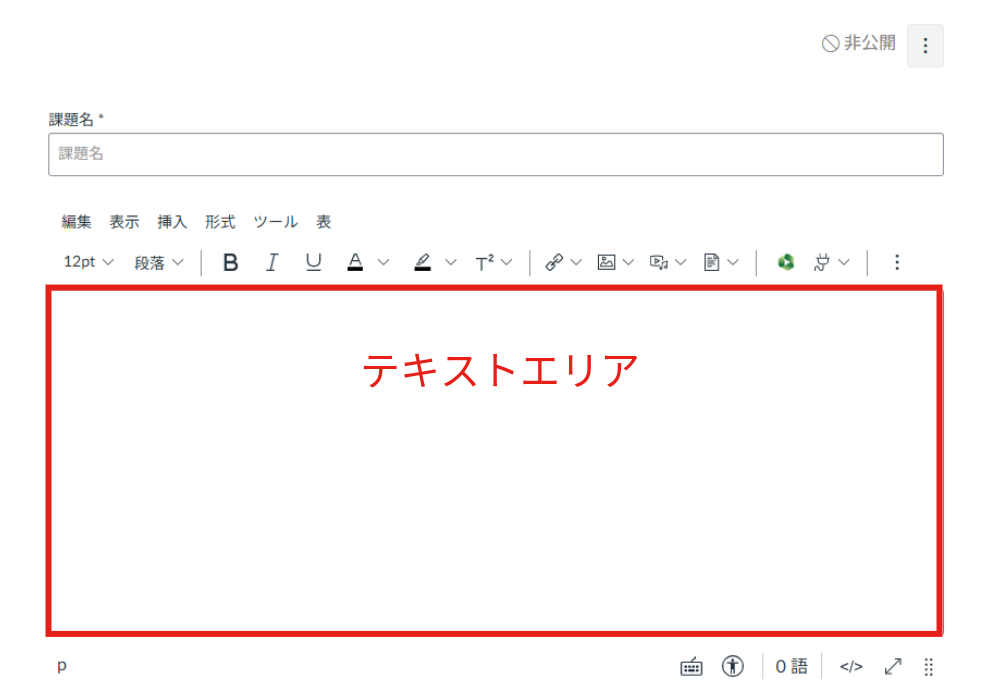
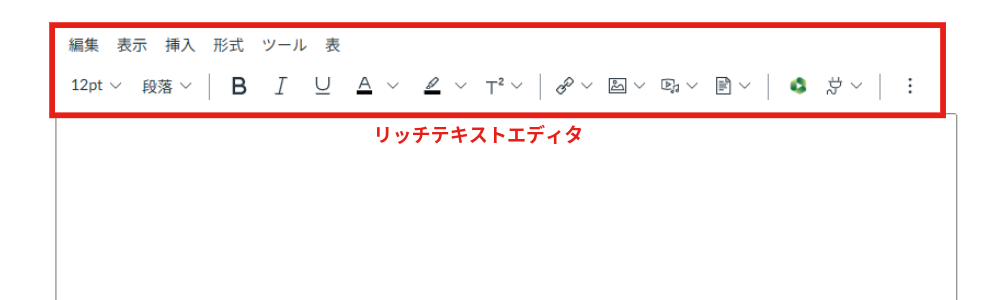
Use the Rich Content Editor if you want to format the text in the text area.
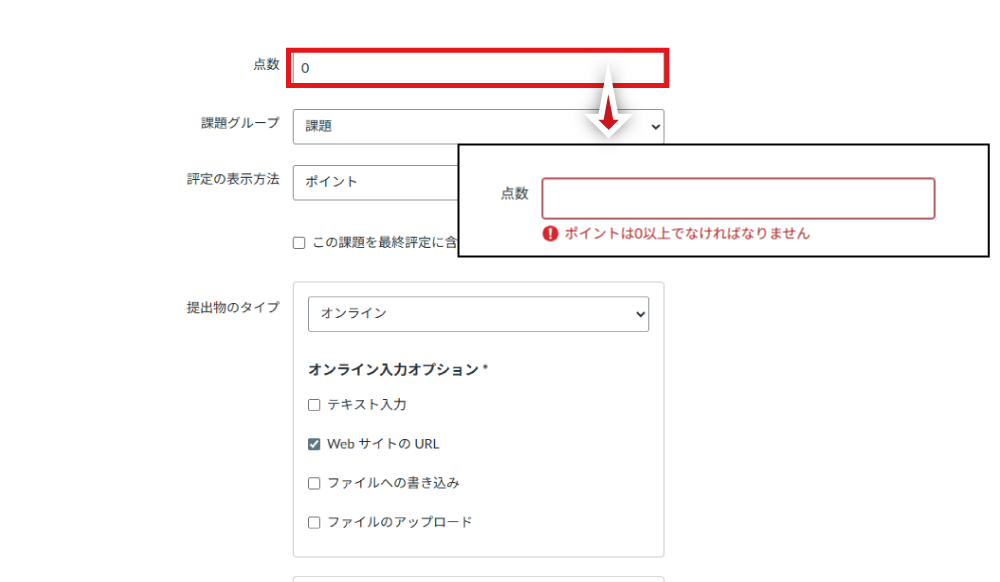
Enter the maximum possible score in 'Points'. Please note that leaving it blank will cause an error when saving.
Set how grades are displayed.
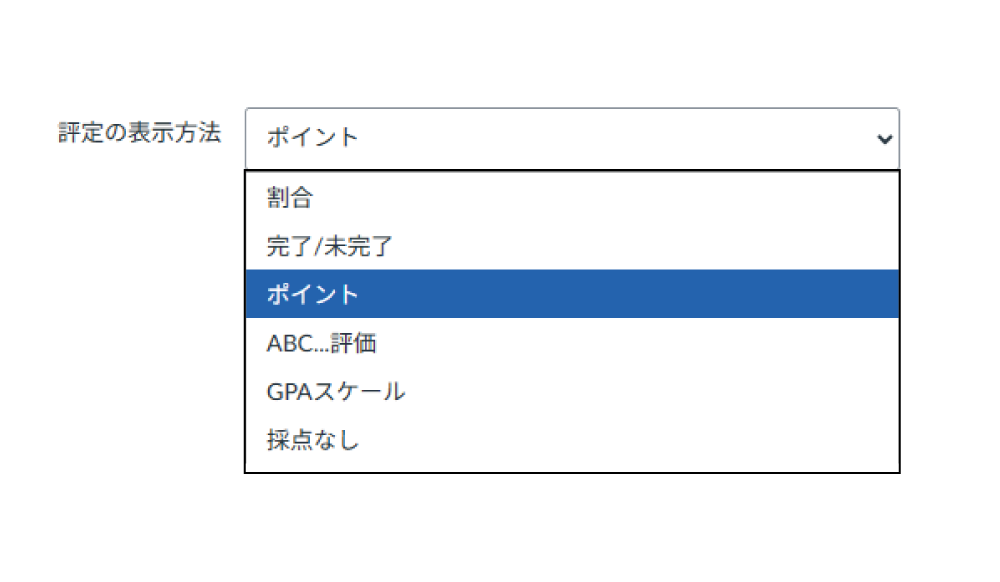
- Percentage
- The percentage of the entered score / total points is automatically calculated and displayed.
- Complete/Incomplete
- The faculty selects either 'Complete' or 'Incomplete'. 'Complete' gives full points, and 'Incomplete' gives 0 points.
- Points
- Enter a score to grade. (Default setting)
- Letter Grade
- You can select Letter Grade (grading divided into stages such as A, B, C). When you enter a score, it is automatically evaluated according to a preset grading scheme. Access the grading scheme via the link displayed when selected.
- GPA Scale
- You can select GPA Scale (Grade Point Average). When you enter a score, it is automatically evaluated according to a preset grading scheme. Access the grading scheme via the link displayed when selected.
- Not Graded
- Sets the assignment as ungraded. Use this for practice assignments you want to exclude from grading. Please note that 'Not Graded' only assigns the task to students and does not allow them to submit anything.
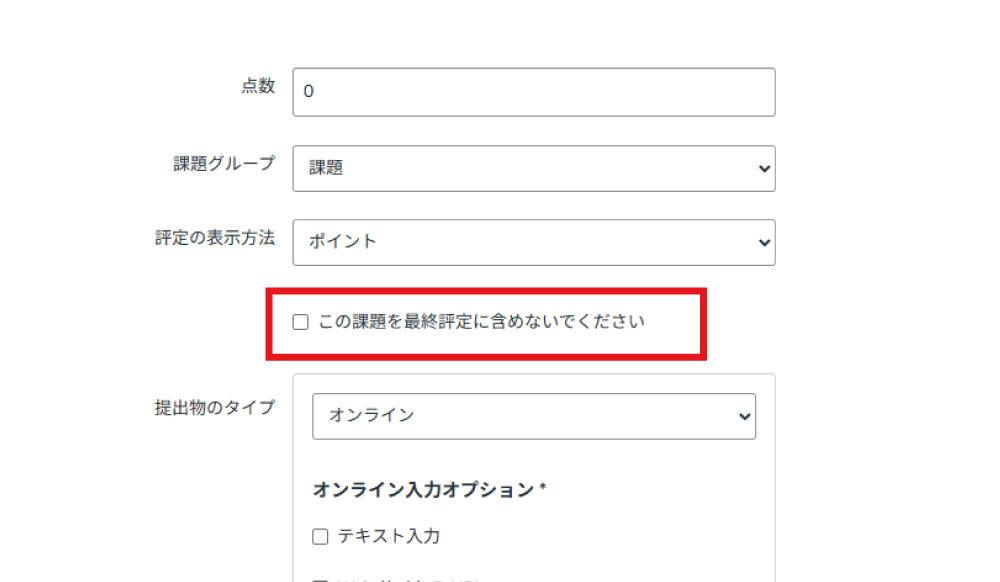
Checking 'Do not count this assignment towards the final grade' will exclude the assignment's score from the final grade. Use this for makeup exams or other cases where you do not want it reflected in the course grade.
There are multiple options for 'Submission Type'.
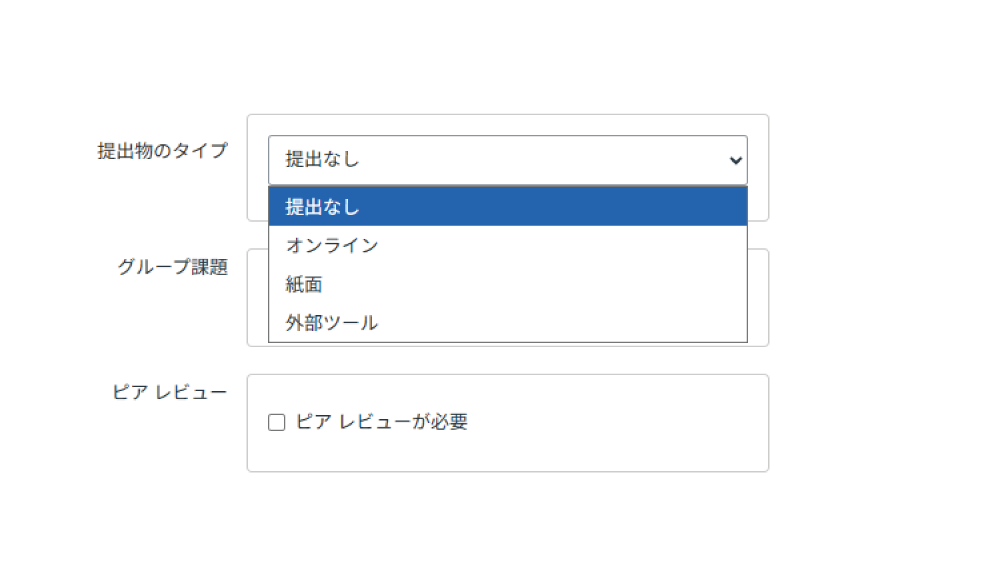
- No Submission
- Select this for assignments with no submission. There is nothing to submit, but you can grade it from SpeedGrader or the Gradebook.
- Online
- Select this to require online submissions.
- Text Entry: A text input form will be displayed to the submitter.
- Website URL: A URL input form will be displayed to the submitter.
- Student Annotation: Currently verifying.
- File Uploads: A form allowing the submitter to upload a file will be displayed.
* You can specify certain extensions like pdf or docx. If specified, files with other extensions cannot be uploaded.
- On Paper
- Select this when collecting handouts in face-to-face classes. You can grade it from SpeedGrader or the Gradebook. The student view will show 'Submitting: on paper'.
- External Tool
- Use this when requiring submissions using an external tool integrated with the course.
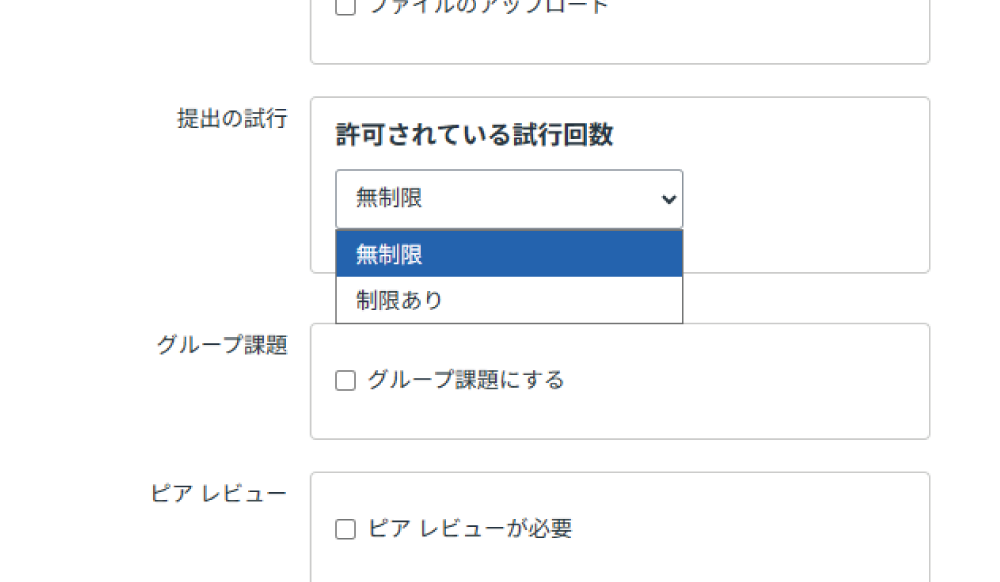
You can limit the number of submission attempts under 'Submission Attempts'.
To enable this, select 'Limited' and enter the number of attempts. Set the number of attempts to 1 to disallow resubmissions.
To assign to a group, check 'This is a Group Assignment' and select a Group Set. If no existing group exists, create one.
Check 'Require Peer Reviews' if you want to assign peer evaluation tasks.
You can assign the assignment to the target students for grading.
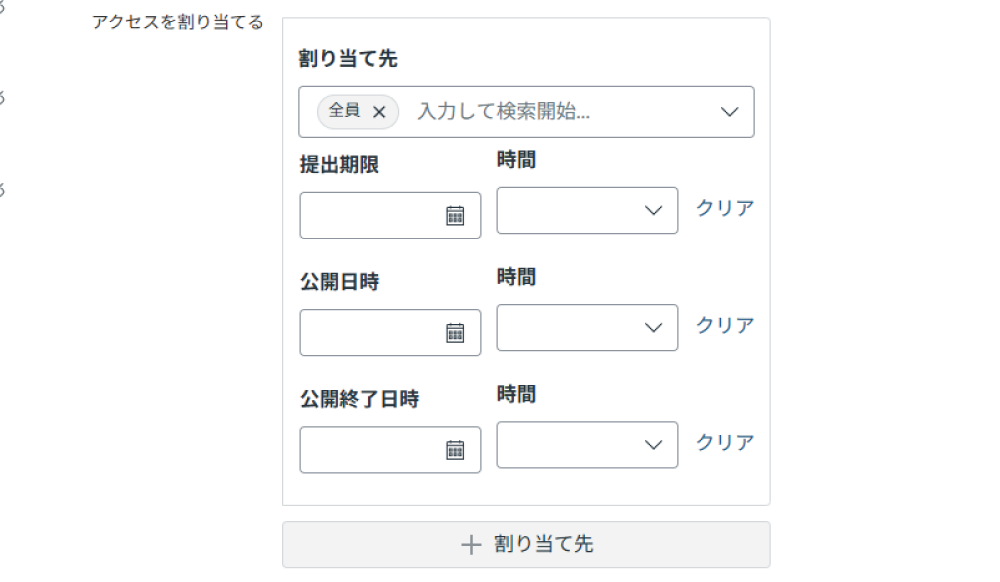
- Assign to (Required)
- The default is 'Everyone'. To assign individually, such as for a makeup exam, select the target student from the dropdown. You can also assign different settings to different students by clicking '+ Add'.
- Due
- You can set a submission deadline. Times not in the dropdown can be entered directly.
- Available from
- You can set an availability start date/time. Times not in the dropdown can be entered directly.
- Until
- You can set an availability end date/time. Times not in the dropdown can be entered directly.
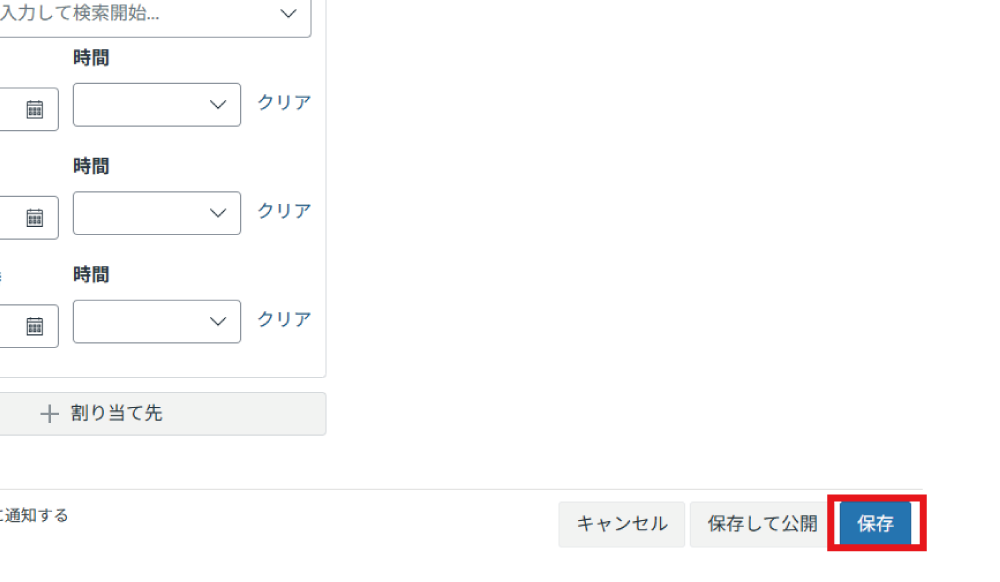
When finished configuring the assignment, click 'Save'.
. How to Publish Created Assignments
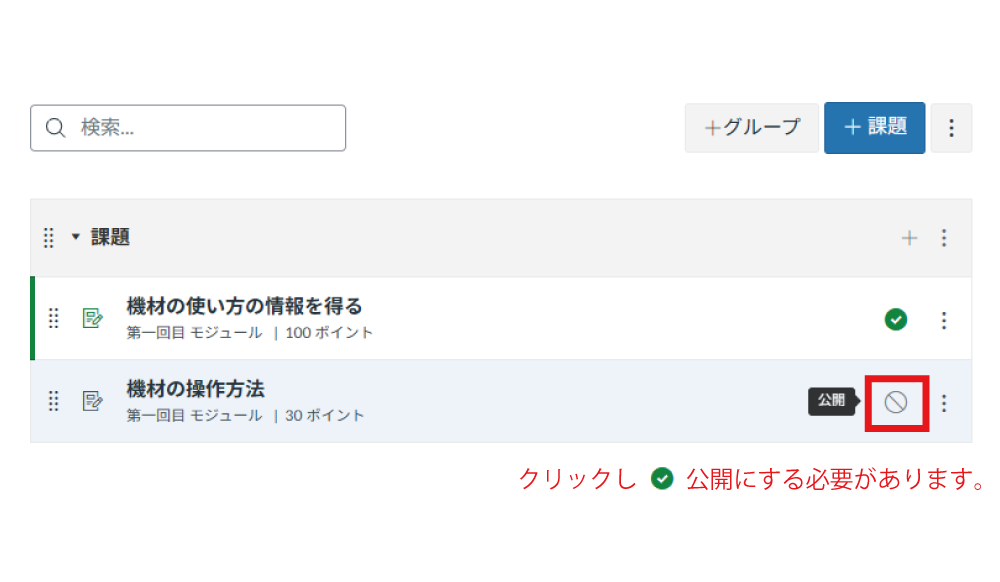
Even after finishing the setup and clicking 'Save', the default status is unpublished. This also applies when adding an assignment from a module.
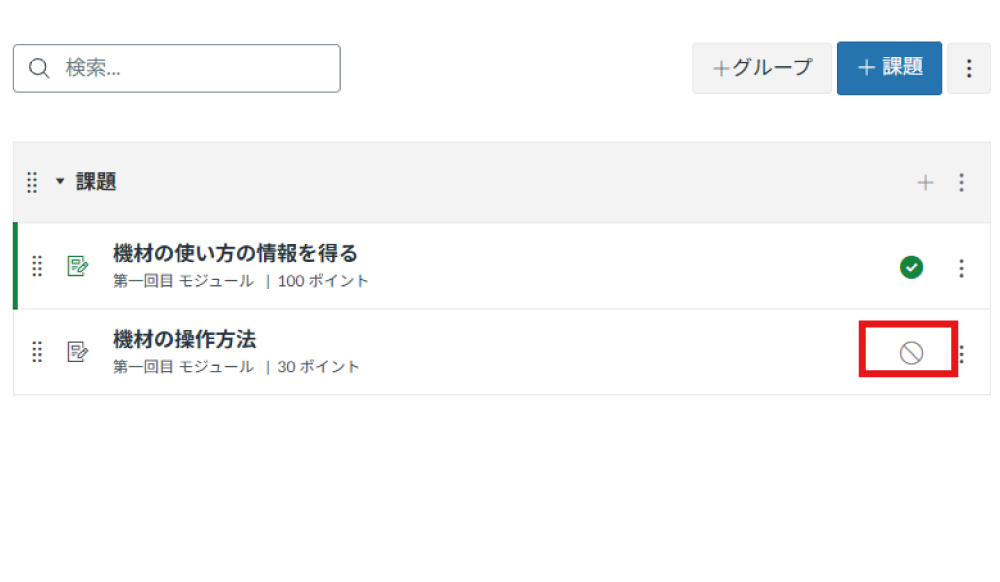
If left unpublished, it will not be published even if a start date is set. It must be published manually.
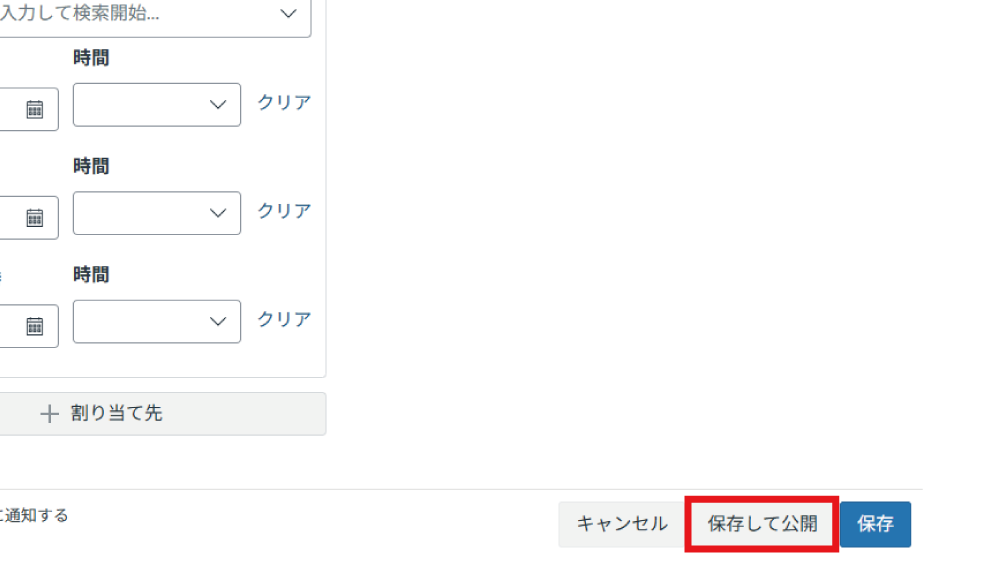
Clicking 'Save & Publish' will save and publish it simultaneously. Although published, the specified availability dates take precedence.